A Behind The Scenes Look At Our DIY Kitchen Renovation
Friends, it’s been a long time coming but we’ve finally reached the finish line — our kitchen remodeling project is finally complete! In order for you to understand why this is such a major milestone, we’d like to share our journey from start to finish. Let’s jump back to May of 2017…
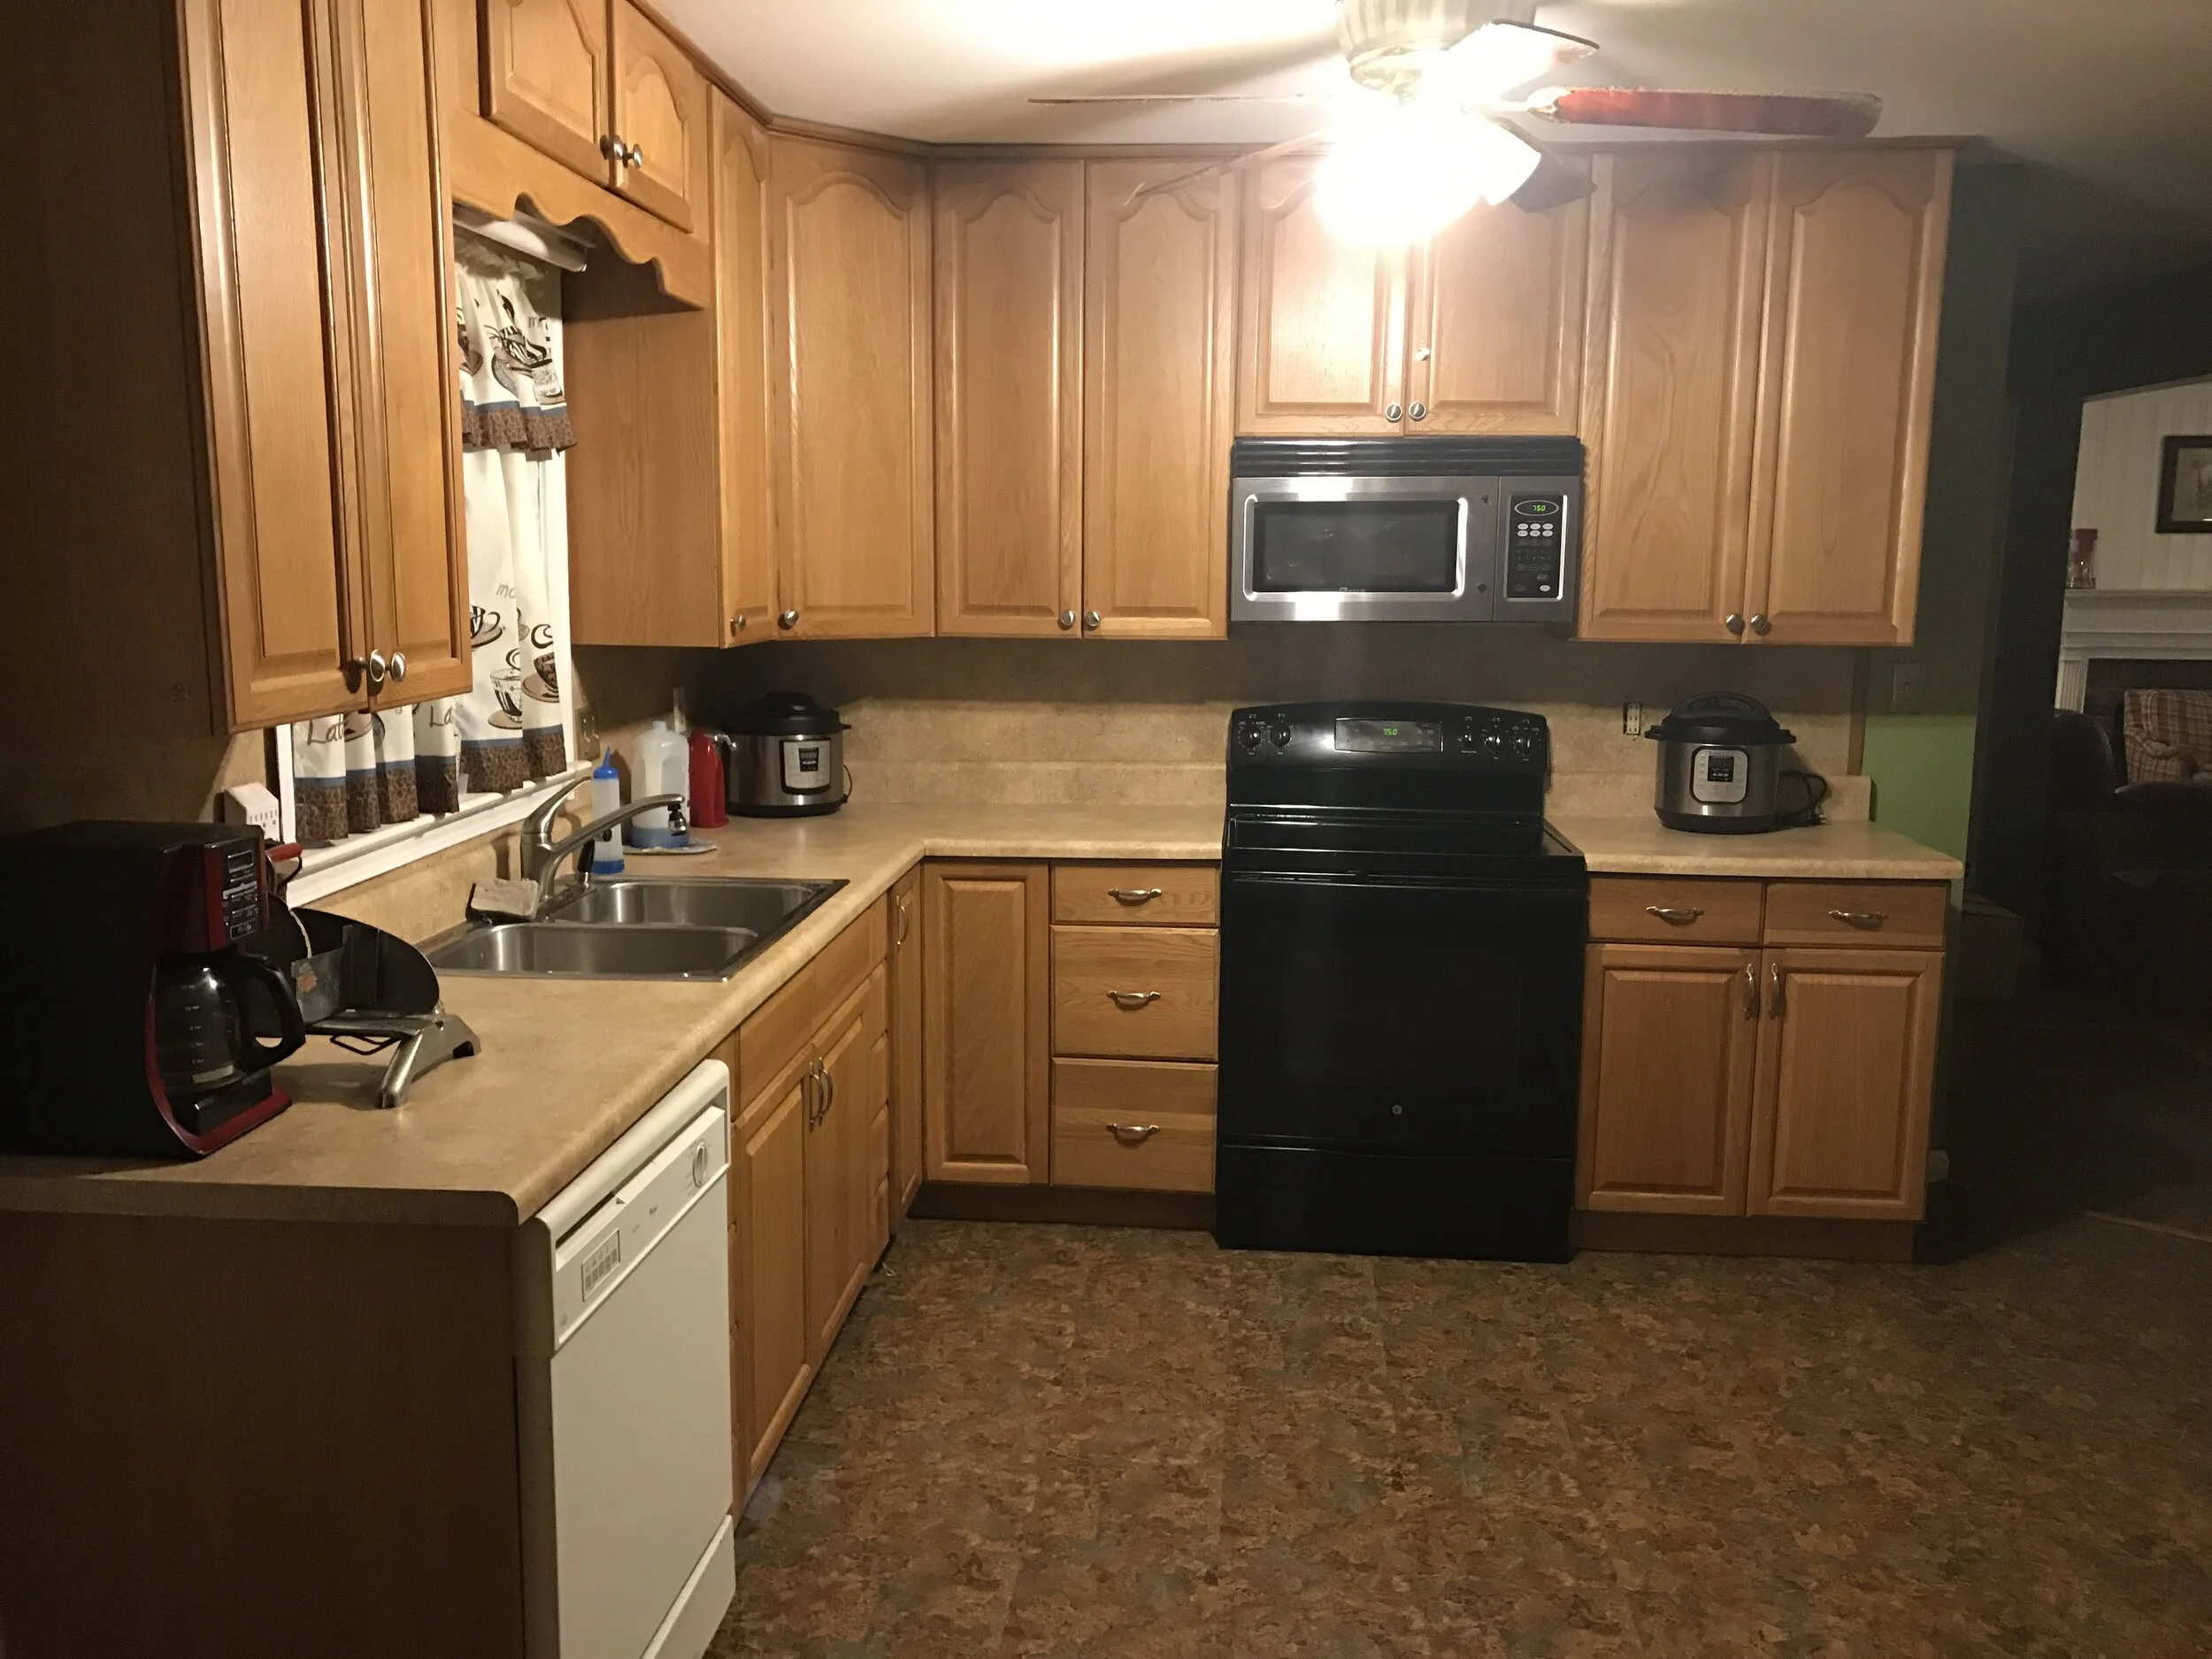

When we first laid eyes on our home we we immediately fell in love with the potential. There were a lot of opportunities we were and still are excited to tackle. We weren’t sure in what order we’d renovate the rest of our home but we knew we had to start with the kitchen.
Our kitchen is in back of the house but in front of the sunroom. The layout is great but it blocks a lot of the natural light that shines into our home making it a bit too dark in the kitchen. The walls were originally painted in a lima bean green, the cabinets were outdated and for some reason, there was a ceiling fan right in the room’s center that was covered in grease. There were neutral-colored laminate countertops with a matching backsplash. The floors were half hardwood and half linoleum tile, the fridge didn’t match any of the other appliances and the oven wasn’t even functional. As you can imagine, it wasn’t the most cohesive aesthetic.
Since we realized there was a lot to take on we created a game plan. On our list of things to tackle, we planned to brighten the room, fix the floors, remove the fan, update the appliances and top it all off with our own personal spin.
Flooring
The first thing we did was replace the tile with Red Oak hardwoods to match the flooring on the other side of the kitchen and breakfast nook. To say this process was hard is a drastic understatement. In the future, we will definitely hire a professional for all of our hardwood needs. But in the end, we got it done and it came out pretty well for our first attempt.
Cabinetry & Open Shelving
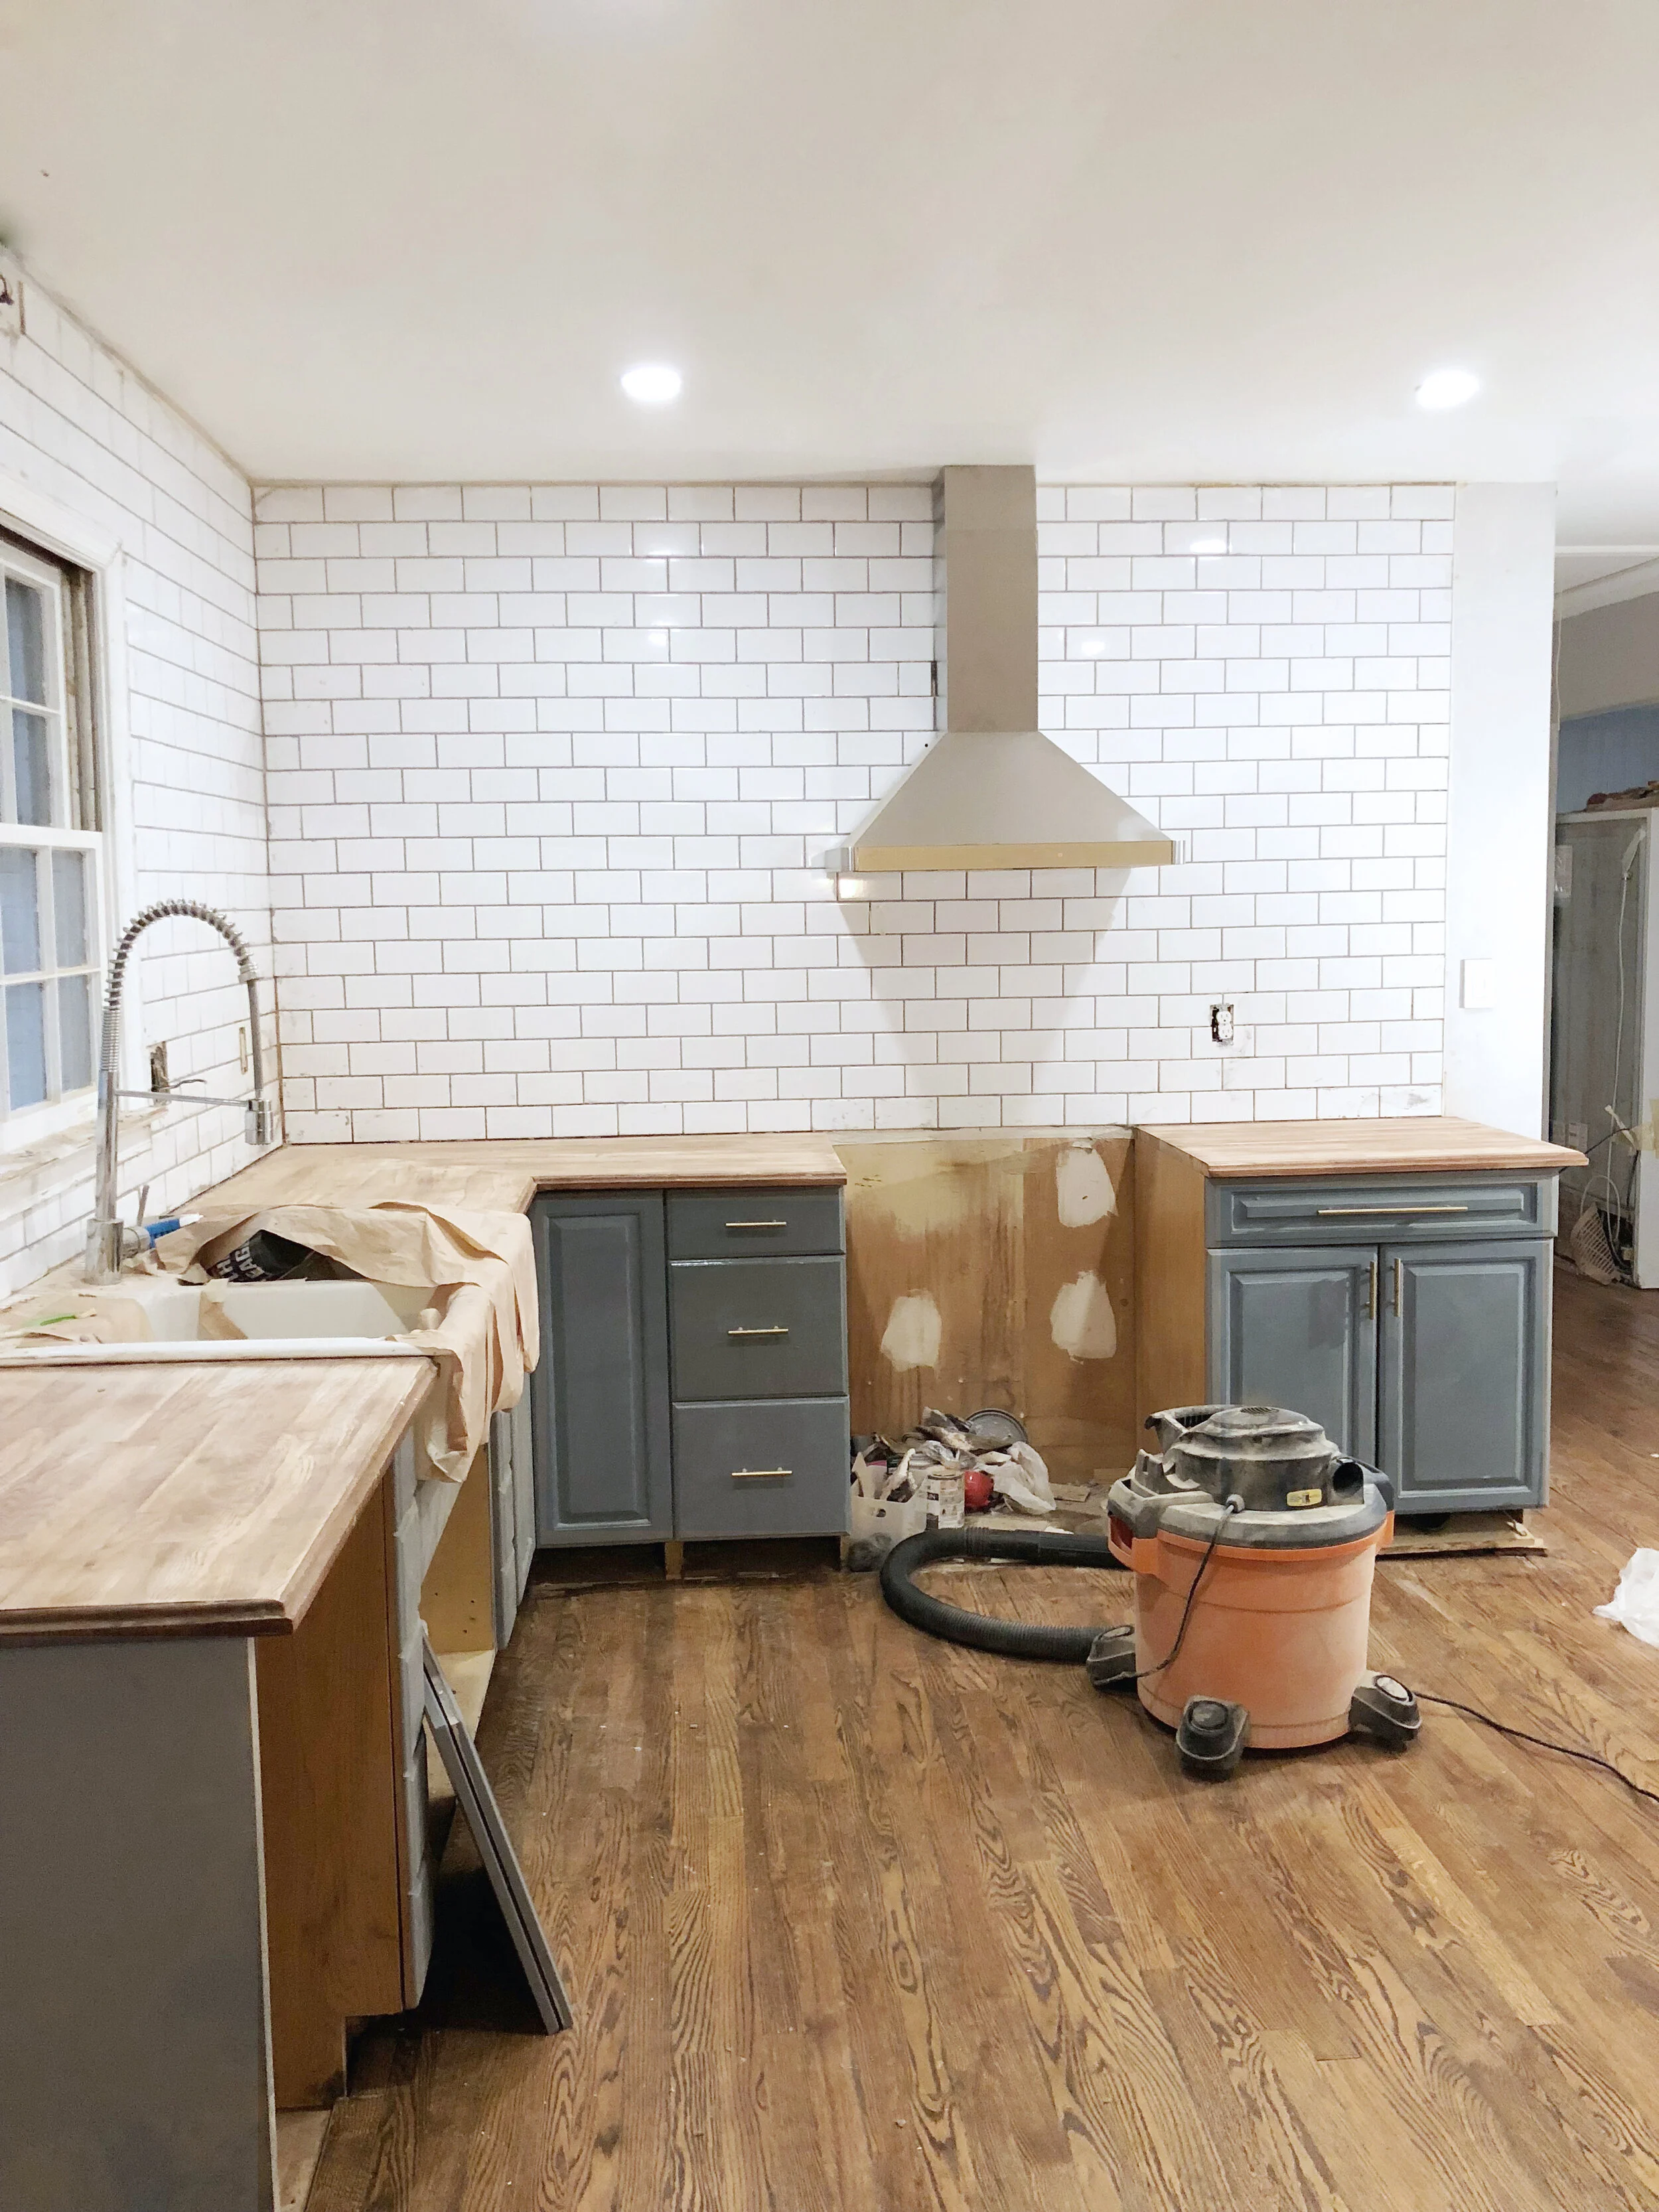
We initially considered painting the upper cabinets white and the lower cabinets a darker gray but it felt a bit tight. Instead, we decided to completely remove the top cabinets and opt for open-shelving with brass brackets which completely transformed the space.
We added a fresh coat of Behr’s Cloudy Sky to the lower cabinets and replaced the existing hardware with gold accent pieces.

Our Kitchen’s Vent Hood & Open Shelving
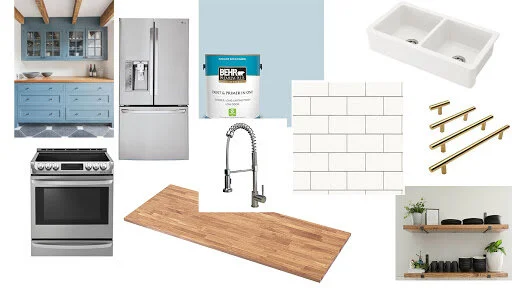
For the cabinet countertops, we chose Ikea’s Oak Butcher Block option. I’ve always loved the look of a country kitchen with warm wood tones. To spice up the Oak Butcher Block, we added a Mahogany Stain and routed edges to the countertops.

Appliances
Double Sink
We replaced the sink with Ikea’s Double Farmer’s Sink because it was important to us for the sink to be both deep and split. Both sides are large enough for cookware and we can always use at least one side to strain pasta, soak or clean food if the other is full. We replaced the kitchen faucet with a new stainless steel pull down faucet and added a new dishwasher.
Refrigerator
The fridge was a total steal. During HH Gregg’s closeout sale we found a beautiful LG fridge that was an open box deal. It had a few scratches and dents so we ended up getting the fridge for about 90% off. Yes, you read that right — 90% OFF! The fridge is definitely our favorite appliance in the room. It even sings a lovely reminder tune when a doors are left open! There’s plenty of storage inside the doors to hold condiments resulting in zero clutter on the shelves. The freezer space is large enough to load large pizzas boxes, meat, and more.
Electric Range
We added a vent hood above the stove, recessed lighting to replace the light lost after removing that disgusting ceiling fan and a new Self-Cleaning, LG Range that I absolutely love! It’s a stainless steel with a gold strip, giving it a sleek, modern look, it cooks everything quickly and evenly and the 5 burners provide plenty of space. What isn’t there to love?!
Backsplash & Final Touches
We went with traditional subway tile from Floor & Decor with a dark gray grout and painted the walls a light lavender-gray. Lastly, we put in a small island which neatly tied everything together.
I must say, the final Kitchen seems much brighter now, don’t you think? The color of the cabinet makes the room pop with the combination of mixed metals including brass, gold, and stainless steel. Our favorite thing about this renovation is how much larger it seems after removing a few cabinets and brightening the space up.

Sounds easy enough, right?! Honestly, renovations can be very expensive and time consuming but since we didn’t plan on removing any walls or changing the kitchen layout in any way, our DIY Kitchen Remodel saved us tons of money. It was a lot of work but it was well worth it!